

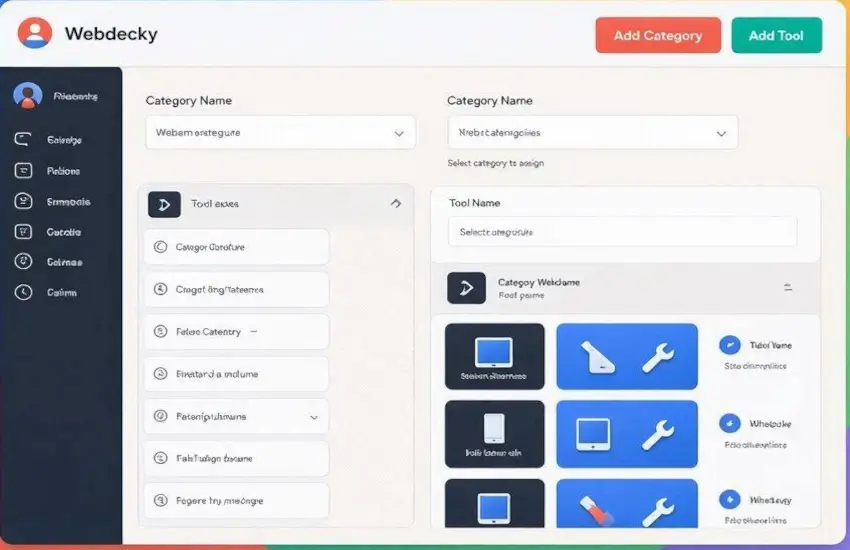
With this useful article, I guide you on how to Add Categories and Web Tools in WebDecky Website. Managing an online tools website becomes much easier when everything is properly organized into categories. WebDecky provides a simple Tools System that allows website administrators to create categories and add individual web tools without making the process complicated.
Whether you are building a collection of calculators, text utilities, image tools, SEO tools, developer tools, or other online utilities, creating categories first can help keep your website organized and easier for visitors to navigate.
In this guide, we will explain how to add a category and a new web tool in WebDecky, step by step. If you are using WebDecky for the first time, don't worry. The process is straightforward and can be completed directly from the WebDecky Dashboard.
What You Need Before Adding a Tool
Before you start creating categories or adding tools, you need access to the WebDecky admin area. If you already have an account, you can simply log in. If you are not registered yet, you will first need to create an account using your email address. After registration, log in to your WebDecky account and open the dashboard. Once you are inside the dashboard, you can access the Tools System, where you can manage categories and web tools.
Step 1: Register or Log In to WebDecky
The first step is to access your WebDecky account. If you already have an account, enter your login details and sign in. However, if you are a new user and have not registered yet, complete the registration process using your email address.
After successfully registering, log in to your account. You should then be taken to the WebDecky Dashboard. The dashboard is the main area from where you can manage different parts of your website, including your tools and categories.
Step 2: Open the Tools System
After logging into your WebDecky Dashboard, look for the Tools System section. This section is where you can create and manage the categories and tools available on your website. Before adding an individual tool, it is a good idea to create a suitable category for it.
For example, if you want to add a word counter, you could create a category such as Text Tools. Similarly, calculators can be placed under Calculator Tools, while SEO-related utilities can have an SEO Tools category. Click on the appropriate option inside the Tools System to begin creating your category.
Step 3: Click on Add Category
Inside the Tools System, find and click the Add Category button. You will see a category creation form with several fields. These fields allow you to provide important information about the category, including its title, URL slug, description, and image. Let's look at each field.
Category Title: The Category Title is the name visitors will see on your website. Choose a clear and meaningful name that describes the tools that will belong to the category. For example:
Text Tools: Other examples could include:
- Image Tools
- SEO Tools
- Calculator Tools
- Developer Tools
- PDF Tools
Slug: The Slug is used as part of the category's web address. Keep the slug short, simple, and easy to understand. Avoid unnecessary spaces and special characters. For example, if your category title is "Text Tools," you can use: Text-tools. A clean slug can also make your website URLs easier for users and search engines to understand.
Short Description: Next, enter a Short Description for the category. This should briefly explain what visitors can expect to find in that category. Keep it concise and informative. For example:
"Useful online tools for writing, editing, counting, and working with text."
Full Description: The Full Description provides more information about the category. Here you can explain what types of tools are included, how the tools can help users, and what visitors can expect from the category. A well-written description can also provide useful information for search engines and improve the overall quality of your category page.
Category Image: The next field is Category Image. Click the file selection option where it says No file chosen and select an appropriate image from your computer. Choose an image that represents the category. For example, a calculator-related image can be used for a Calculator Tools category.
Image Alt: The Image Alt field allows you to add alternative text for the category image. Use descriptive text that explains what the image represents. For example:
Text tools category: Adding meaningful alt text is useful for accessibility and can also help search engines understand the image.
Step 4: Create the Category
After completing all the required category fields, review the information carefully.
Make sure the category title, slug, descriptions, image, and image alt text are correct.
Once everything looks good, click the Create Category button.
Your new category will then be added to the WebDecky Tools System. You can now use this category when creating a web tool.
Read more helpful articles: How to install Hestia CPanel on a VPS Server, How to Deploy PHP and Laravel on Hestia CPanel, and How to install WebDecky on Shared Hosting.
Step 5: Add a New Web Tool
After creating your category, return to the Tools System and look for the option to Add New Tool.
Click it to open the tool creation form.
This form contains the information needed to add your actual web tool to the website.
Step 6: Enter the Tool Title
The first field is Tool Title. Enter the name of your web tool. Make sure the title clearly tells users what the tool does.
For example: Word Counter
A clear title makes it easier for visitors to understand the purpose of the tool.
Step 7: Add the Tool Slug
Next, enter the Slug for your tool. The slug should normally be a short version of the tool name.
For example: word-counter
Try to keep it simple and readable.
Step 8: Select a Category
Now use the Select Category option to choose the category you created earlier. For example, if you created a category called Text Tools, select that category for your Word Counter tool. Choosing the correct category keeps your WebDecky website organized and makes it easier for visitors to find related tools.
Step 9: Add Short and Full Descriptions
The next fields are Short Description and Full Description.
The short description should quickly explain what the tool does.
The full description can provide additional information about the tool, its purpose, and how users can benefit from it.
Writing useful and original descriptions can also make your tool pages more informative and SEO-friendly.
Step 10: Configure Access Type and Tool Status
WebDecky also provides settings for controlling how your tool is displayed and accessed. For Access Type, select: Free. This means visitors can access the tool without requiring paid access. Next, configure the Tool Status. If you want the tool to be available on your website, set the status to: ON. This ensures the tool is active.
Watch This Video: Add Categories and Tools in WebDecky
Step 11: Select the Tool Folder and PHP File
You will then see the Select Tool Folder option. Choose the appropriate folder from the available list. If nothing has been selected, you may see: Select Folder. Select the folder that contains the files associated with your tool.
After that, use the Select PHP File option and choose the PHP file responsible for running the tool. The available option may initially show: Select PHP File. Make sure you select the correct PHP file so that the tool works properly when visitors open it.
Step 12: Add Tool Image and Image Alt
Next, upload an image for your web tool using the Tool Image field. Click No file chosen and select an appropriate image from your computer. Then enter descriptive text in the Image Alt field. For example, for a Word Counter tool, you could use: Online word counter tool. A relevant image and descriptive alt text can improve the presentation of your tool page and provide better accessibility.
Step 13: Create the Tool
Before submitting the form, carefully review all the information you entered. Check the tool title, slug, category, descriptions, access type, tool status, folder, PHP file, image, and image alt text. Once everything is correct, click the Create Tool button. Your new web tool will then be added to the WebDecky website.
Why Proper Categories Matter in WebDecky?
Creating categories before adding tools is an important part of keeping a tools website organized. Instead of displaying every utility in one large list, categories allow visitors to quickly find the type of tool they need.
For example, you can separate your tools into categories such as Text Tools, Image Tools, SEO Tools, Calculator Tools, PDF Tools, and Developer Tools. A well-organized structure can improve navigation, user experience, and the overall appearance of your website.
Conclusion
Adding categories and web tools in WebDecky is a simple process when you follow the correct order. First, register or log in to your account and open the WebDecky Dashboard. From there, enter the Tools System and create a category by filling in the category title, slug, descriptions, image, and image alt text.
After creating the category, use Add New Tool to add your web tool. Enter the tool title and slug, select the appropriate category, add descriptions, choose Free access, turn the tool status ON, select the correct tool folder and PHP file, upload the tool image, and provide image alt text.
Finally, click Create Tool. By following these steps, you can build a well-structured collection of useful web tools on your WebDecky website and make it easier for visitors to discover and use them.




Comments (0)
No comments yet. Be the first to comment!
Leave a Comment