

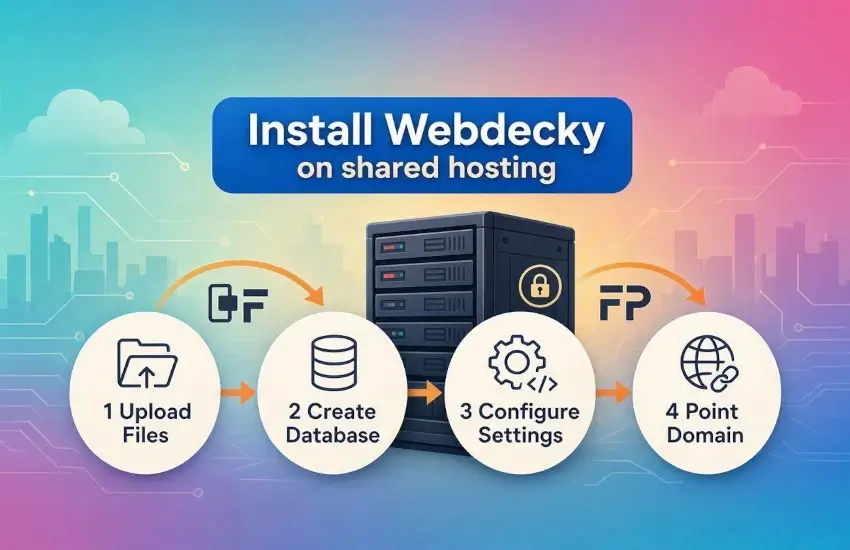
This useful article will guide you on how to install the WebDecky website on shared hosting. Installing a Laravel-based website on shared hosting can sometimes feel complicated, especially if you are new to Laravel, PHP configuration, databases, and server management. The good news is that installing **WebDecky** on compatible shared hosting is much easier when you follow the correct process.
WebDecky is a modern Laravel-based website platform designed to be fast, easy to use, flexible, and suitable for different types of online projects. It can provide multiple features and modules in one platform, making it useful for website owners, developers, creators, and businesses that want to manage their online presence from a single installation.
In this guide, we will explain how to install WebDecky on shared hosting step by step. You do not need to be an advanced server administrator to follow this tutorial. However, you should have basic knowledge of your hosting control panel, domain management, databases, and file management.
Before starting the installation, make sure your hosting provider supports the PHP and server requirements required by your specific WebDecky version.
What Is WebDecky?
WebDecky is a Laravel-based website platform built with modern web technologies. Its goal is to provide a fast and user-friendly experience while offering multiple features and modules that can be used to build and manage a professional website.
Because WebDecky is based on Laravel, it benefits from the flexibility and structure of a modern PHP framework. Laravel makes it easier to organize application code, manage databases, handle authentication, and build scalable web applications.
WebDecky can be useful for different types of websites, including SEO platforms, content websites, blogs, digital marketplaces, community websites, and other projects that need multiple features in one system.
One of the main advantages of using a platform like WebDecky is that you do not have to build every feature from scratch. Instead, you can install the application on your hosting account, configure your settings, and start customizing the website according to your needs.
What You Need Before Installing WebDecky?
Before uploading WebDecky to your shared hosting account, you should prepare a few things.
1. A Domain Name
You need a domain name where you want to install WebDecky. For example:
`example.com`
You can also install it on a subdomain such as:
`demo.example.com`
Make sure the domain or subdomain is correctly connected to your hosting account before beginning the installation.
2. Compatible Shared Hosting
Not every shared hosting package supports Laravel applications. Before purchasing or using a hosting plan, check whether it supports the PHP version and other server requirements specified by your WebDecky version.
Your hosting should generally provide:
- PHP support
- MySQL or MariaDB database
- PHP extensions required by the application
- SSL certificate support
- File Manager or FTP access
- Cron job support if required by your installation
- Ability to configure the document root or public directory when necessary
The exact requirements may vary depending on the WebDecky release you are installing, so always check the requirements included with your package.
3. Database Access
You will need to create a database and database user. Most shared hosting providers offer a database management section through cPanel or another hosting control panel.
Keep these details ready:
- Database name
- Database username
- Database password
- Database host
On many shared hosting platforms, the database host is `localhost`, but this depends on your hosting provider.
4. WebDecky Installation Files
Download the latest WebDecky installation package from your authorized source.
If the package is provided as a ZIP file, keep the ZIP file ready for uploading to your hosting account.
Step 1: Log In to Your Hosting Control Panel
The first step is to log in to your hosting control panel.
Depending on your hosting provider, you may use cPanel, Plesk, DirectAdmin, or another hosting management interface.
After logging in, locate the **File Manager**.
File Manager allows you to upload, extract, move, rename, and manage your website files directly from your browser.
If your hosting provider does not offer File Manager, you can use an FTP client such as FileZilla.
Step 2: Open Your Website's Directory
Navigate to the directory where your domain points.
For a primary domain, this might be a folder such as:
`public_html`
For an addon domain or subdomain, your hosting provider may use a different folder.
The correct directory is important because this is where your web server looks for the application files.
Before uploading WebDecky, make sure you are working inside the correct directory for the domain where you want the website to appear.
Step 3: Upload the WebDecky ZIP File
Upload the WebDecky ZIP package to your website directory.
For example:
`public_html/webdecky.zip`
The upload time depends on your internet connection and the size of the installation package.
If your hosting control panel provides a ZIP extraction option, you can extract the files directly on the server. This is often faster than extracting the files on your computer and uploading hundreds or thousands of individual files.
After extraction, check the file structure carefully.
Make sure the WebDecky application files are located in the correct website directory and that you have not accidentally created an unnecessary nested folder.
For example, if your domain points to:
`public_html`
you should avoid ending up with:
`public_html/webdecky/public/index.php`
unless your hosting configuration is specifically configured for that structure.
Step 4: Configure the Laravel Public Directory
Laravel applications normally have a `public` directory that acts as the web-accessible document root.
This is an important part of installing Laravel applications on shared hosting.
Ideally, your domain should point to the application's `public` directory. If your hosting provider allows you to change the document root, you can configure the domain to point to:
`/path-to-your-webdecky-installation/public`
This is generally the cleaner approach because application files outside the `public` directory are not directly exposed to visitors.
However, some shared hosting environments do not allow you to change the document root easily. In that situation, you may need to follow the deployment instructions included with your WebDecky package for shared hosting.
Do not simply expose sensitive application files to the public directory without understanding the hosting structure.
Step 5: Create a MySQL Database
Now you need to create a database for WebDecky.
Open your hosting control panel and find the **MySQL Databases** section or equivalent database management tool.
Create a new database.
Then create a database user and assign the user to the database.
Make sure the database user has the necessary permissions, usually including all required privileges for the application database.
Write down the following information:
- Database name
- Database username
- Database password
- Database host
You will need these details during the WebDecky installation process.
Step 6: Open Your WebDecky Domain
Once the files are uploaded and the database is ready, open your website domain in a browser.
For example:
`https://example.com`
If WebDecky includes an installation wizard, the installer should appear automatically.
The installation wizard may guide you through several steps, such as checking server requirements, configuring the database, creating an administrator account, and completing the installation.
If the installer does not appear, check that the domain is pointing to the correct directory and that the required files are in the correct location.
Step 7: Check Server Requirements
The WebDecky installer may check whether your hosting environment meets the required server configuration.
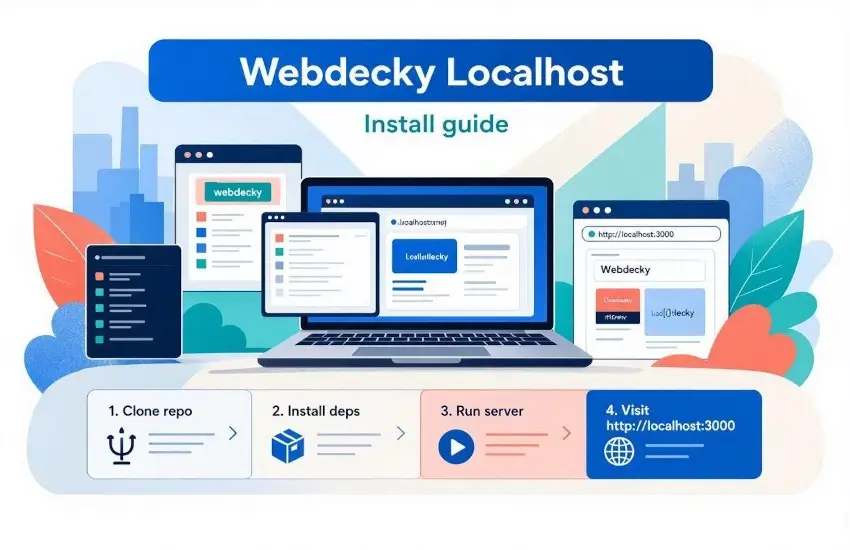
Read more helpful articles: How to install WebDecky on Localhost, How to deploy PHP and Laravel on Hestia CPanel, How to install Hestia CPanel on VPS Server,
The requirements can include:
- Supported PHP version
- Required PHP extensions
- Writable directories
- Database support
- File permissions
- Other Laravel application requirements
If a requirement fails, do not continue until the problem is resolved.
For example, if a required PHP extension is missing, you may need to enable it through your hosting control panel. Some shared hosting providers allow you to manage PHP extensions through a **Select PHP Version** or **PHP Extensions** section.
If you cannot enable a required extension yourself, contact your hosting provider's support team.
Step 8: Enter Database Information
The installer should ask you to provide your database credentials.
Enter the information you created earlier.
For example:
- Database Host: `localhost.`
- Database Name: Your database name
- Database Username: Your database username
- Database Password: Your database password
The exact database host may be different depending on your hosting provider.
After entering the information, continue with the installation.
If the database connection fails, carefully check the database name, username, password, and host.
A common mistake on shared hosting is forgetting that the hosting provider may automatically add an account prefix to your database name and username.
For example, instead of:
`webdecky_db`
your actual database name may be:
`hostingaccount_webdecky_db`
Always copy the exact database information shown in your hosting control panel.
Step 9: Create Your Administrator Account
During the installation process, WebDecky may ask you to create your administrator account.
Enter your preferred administrator name, email address, and a strong password.
Use a unique password that you do not use on other websites.
Your administrator account will allow you to access the WebDecky dashboard and manage your website settings, content, users, tools, and other available features.
Make sure you remember your login credentials and keep them secure.
Step 10: Complete the Installation
After entering the required information, start the installation process.
The installer may create database tables, configure application settings, and prepare the system for use.
Depending on the WebDecky version and hosting environment, the installation may take a few moments.
When the installation is completed successfully, you should see a confirmation message.
You can then visit your website and log in to the administrator dashboard.
Watch This Video: Install WebDecky on shared hosting.
Step 11: Configure Your Website
After installation, the next step is to configure your WebDecky website.
Start by reviewing the general website settings.
You may want to configure:
- Website name
- Website logo
- Favicon
- Website description
- SEO settings
- Social media links
- Email settings
- Theme appearance
- Navigation menus
- User settings
- Other available modules
Take some time to explore the administration dashboard and become familiar with the available features.
Because WebDecky is designed to support multiple features, it is a good idea to configure each section gradually instead of changing everything at once.
Step 12: Enable SSL and HTTPS
Security should be one of your priorities after installing WebDecky.
Make sure your domain has an SSL certificate installed.
Your website should open using HTTPS:
`https://example.com`
Most modern shared hosting providers offer free SSL certificates through services such as Let's Encrypt.
After enabling SSL, check that your website loads correctly over HTTPS.
You should also make sure that HTTP traffic redirects to HTTPS if this is supported by your hosting configuration.
HTTPS protects communication between your visitors and your website and is also important for user trust and modern SEO practices.
Step 13: Configure Email
If WebDecky sends registration emails, password reset messages, contact notifications, or other automated emails, you should configure your email settings correctly.
Depending on your hosting environment, you may use:
- Your hosting provider's mail server
- An SMTP service
- A professional email provider
SMTP is often a reliable option for websites because it can improve email delivery compared with basic PHP mail functionality.
After configuring email, test important functions such as registration, password reset, and contact forms.
Step 14: Set File Permissions Correctly
Incorrect file permissions can cause problems with Laravel applications.
Your hosting provider may have recommended permission settings for files and directories.
Avoid giving unnecessary write permissions to your entire website.
Only directories that need to be writable by the web server should have appropriate write permissions.
If you receive errors related to permissions, check the Laravel storage and cache directories and review your hosting provider's recommended configuration.
If you are unsure, contact your hosting provider instead of changing permissions randomly.
Step 15: Test Your WebDecky Website
After completing the installation, test your website carefully.
Open the homepage and check your main navigation.
Then test:
- Administrator login
- User registration
- Login and logout
- Password reset
- Contact forms
- Search features
- Blog pages
- SEO pages
- Images and uploads
- Any marketplace features
- Community or forum features
- Email notifications
Testing your website immediately after installation helps you find configuration problems before visitors start using the platform.
Common WebDecky Installation Problems
500 Internal Server Error
A 500 error can have several causes.
Possible reasons include:
- Incorrect PHP version
- Missing PHP extension
- Incorrect `.env` configuration
- File permission problems
- Incorrect document root
- Server configuration issues
- Application cache problems
Check your Laravel application logs and your hosting error logs to identify the actual cause.
- Database Connection Error
- Double-check your database credentials.
- Remember that shared hosting providers often prefix database names and usernames with your hosting account name.
- Website Shows a Blank Page
- A blank page may be related to PHP errors or disabled error reporting.
- Check your hosting error logs and Laravel logs. Make sure the required PHP version and extensions are enabled.
- 404 Errors on Website Pages
- If the homepage works but internal pages show 404 errors, check your Laravel routing and `.htaccess` configuration.
- Your hosting server must be configured to redirect requests correctly to Laravel's front controller.
- Storage or Upload Problems
If images or uploaded files do not appear, check the application's storage configuration and the required storage link or public upload configuration. Also verify that the relevant directories have appropriate permissions.
Final Thoughts
Installing WebDecky on shared hosting is straightforward when your hosting environment meets the application's requirements and the files are placed in the correct directory.
The most important steps are to prepare compatible hosting, upload the WebDecky files correctly, create a database, configure the Laravel application, complete the installation wizard, and secure your website with HTTPS.
WebDecky is built to provide a fast and easy-to-use Laravel-based platform with support for multiple features and website functions. Instead of managing many separate systems, website owners can use a unified platform and configure it according to their project's requirements.
If you are installing WebDecky for the first time, take your time during the setup process. Carefully check your hosting requirements, database credentials, file structure, and domain configuration. Most installation problems on shared hosting are caused by incorrect paths, unsupported PHP settings, missing extensions, or database configuration errors.
Once the installation is complete, keep your WebDecky installation updated, use strong administrator passwords, enable HTTPS, configure reliable email delivery, and regularly back up your website and database.
With the correct hosting environment and configuration, WebDecky can be a practical solution for developers, creators, businesses, and website owners who want a modern Laravel-based platform that is fast, flexible, and easy to manage.
Whether you are launching a new project or moving from another platform, installing WebDecky on shared hosting can be the first step toward building a professional and feature-rich online presence.

Comments (0)
No comments yet. Be the first to comment!
Leave a Comment