

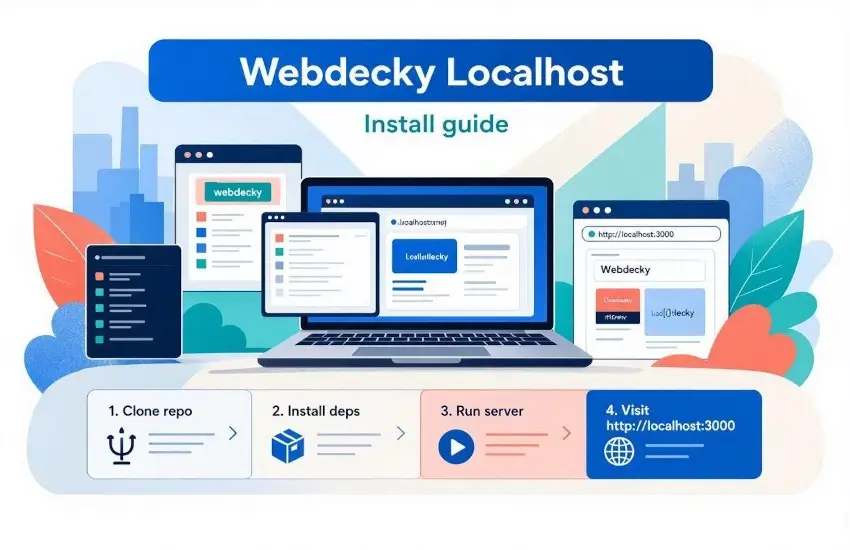
In this useful article, I guide you on how to install the WebDecky website on localhost. If you want to test, customize, or develop a website before making it available to the public, installing it on localhost is one of the best approaches. A local development environment allows you to run a website directly on your computer without needing a live domain or web hosting account.
For developers and website owners working with WebDecky, installing the platform on localhost can be especially useful. You can test new features, customize the design, configure settings, experiment with different modules, and troubleshoot issues in a safe environment before moving the final website to a live server.
WebDecky is a Laravel-based website platform designed to be fast, easy to use, and flexible. It supports multiple features and can be adapted for different types of online projects. Since it is built with Laravel, you can benefit from the power and structure of a modern PHP framework while using WebDecky as a ready-to-use platform.
In this guide, we will explain how to install WebDecky on localhost step by step. The process is suitable for developers, beginners, and website owners who want to create a local copy of WebDecky for testing and development.
Before you begin, remember that the exact server requirements may depend on the specific version of WebDecky you are installing. Always check the requirements included with your WebDecky package and make sure your local environment supports the required PHP version, database system, and PHP extensions.
What Is Localhost?
Before installing WebDecky, it is helpful to understand what localhost means.
Localhost is a local web server environment running on your own computer. Instead of accessing a website through a public domain such as:
`https://example.com`
you access your local website through an address such as:
`http://localhost`
You can also create a local domain or use a project folder, depending on the local development software you are using.
A localhost environment is not publicly accessible by default. This makes it ideal for development and testing.
For example, you can install WebDecky locally and use it to:
- Test new features
- Customize the website design
- Modify Laravel files
- Test database changes
- Develop new modules
- Test plugins or integrations
- Fix bugs
- Experiment with SEO settings
- Test user registration
- Test blog and content features
- Test marketplace functionality
- Prepare updates before deploying them online
This gives you a safe environment where you can make changes without affecting your live website.
What You Need to Install WebDecky on Localhost?
Before starting, you need a local server environment that supports PHP and MySQL or MariaDB.
There are several popular options available for local development.
Some commonly used solutions include:
- XAMPP
- Laragon
- WAMP
- MAMP
- Laravel Herd
- A manually configured PHP and MySQL environment
For beginners, XAMPP or Laragon can be easier to set up because they provide the main components needed to run PHP applications.
Your local environment should include:
- PHP
- MySQL or MariaDB
- Apache or another supported web server
- Required PHP extensions
- Composer, if required by your WebDecky installation
- A database management tool such as phpMyAdmin, if needed
Make sure your PHP version matches the requirements of your WebDecky version.
Step 1: Install a Local Server Environment
The first step is to install a local development environment on your computer.
If you are using XAMPP, install XAMPP and open the XAMPP Control Panel.
Start the services required by your application, normally:
- Apache
- MySQL
If you are using Laragon, start Laragon and make sure the web server and database services are running.
The exact process depends on the local server software you choose, but the goal is the same: you need a working PHP web server and database server.
Once the services are running, open your browser and visit:
`http://localhost`
If your local server is working correctly, you should see the default local server page or dashboard.
This confirms that your computer is ready to host a local PHP application.
Watch This Video: Install WebDecky on Localhost
Step 2: Download the WebDecky Installation Package
Next, download the WebDecky package from your authorized source.
The package may be provided as a ZIP file or another installation format.
For example:
`webdecky.zip`
Save the package somewhere easy to find on your computer.
Before continuing, make sure you are using the correct WebDecky version and that you have reviewed the included installation requirements.
Step 3: Move WebDecky to Your Local Web Directory
The next step is to place the WebDecky files inside the directory used by your local web server.
The location depends on your local development environment.
For example, XAMPP commonly uses:
`htdocs`
You might create a folder such as:
`htdocs/webdecky`
Then extract the WebDecky files inside that folder.
Your project structure may look similar to:
`htdocs/webdecky`
If you are using Laragon, your project may be placed inside the `www` directory.
The exact location is not important as long as your local web server is configured to serve the project correctly.
After extracting the files, check the directory structure carefully.
Make sure you do not accidentally create unnecessary nested folders.
For example, you may want:
`htdocs/webdecky`
rather than:
`htdocs/webdecky/webdecky.`
unless the second structure is intentional.
Step 4: Create a Database for WebDecky
WebDecky needs a database to store application data.
If you are using XAMPP, open:
`http://localhost/phpmyadmin`
From phpMyAdmin, create a new database.
You can give it a simple name, such as:
`webdecky`
You can use another database name if you prefer.
The important thing is to remember the database name because you will need it during the installation process.
Depending on your local environment, your database settings may look similar to:
- Database Name: `webdecky.`
- Database Username: `root.`
- Database Password: Usually empty by default in some local environments
- Database Host: `127.0.0.1` or `localhost`
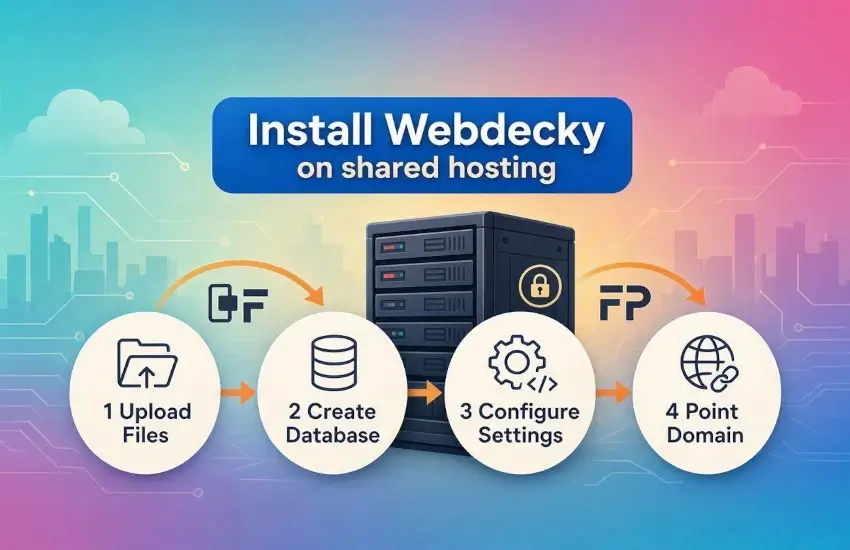
Read more helpful articles: How to install WebDecky on Shared Hosting, How to deploy PHP and Laravel on Hestia CPanel, How to install Hestia CPanel on VPS Server,
However, your configuration may be different.
For security and consistency, always use the database credentials configured in your local environment.
If you have changed your MySQL root password, use your actual password instead of leaving the password field empty.
Step 5: Open the WebDecky Installation URL
Once the files are extracted and the database has been created, open your browser.
If your WebDecky project is inside:
`htdocs/webdecky`
you may access it using:
`http://localhost/webdecky`
If your local environment uses a virtual host or automatic domain, the URL may be different.
When the application is configured correctly, the WebDecky installation page or installer should appear.
The installer may guide you through several steps, depending on the WebDecky version.
You may see steps for:
- Checking requirements
- Database configuration
- Administrator setup
- Application installation
- Installation completion
Follow the instructions shown by the installer.
Step 6: Check the Required PHP Version and Extensions
Laravel applications require certain PHP versions and extensions.
If the WebDecky installer performs a system requirements check, review the results carefully.
If all requirements are marked as successful, you can continue.
If you see a missing PHP extension or an unsupported PHP version, you need to fix it before continuing.
For example, your WebDecky version may require extensions related to:
- PDO
- OpenSSL
- Mbstring
- Fileinfo
- Tokenizer
- XML
- Ctype
- JSON
The exact requirements can vary by Laravel and WebDecky version.
If you are using XAMPP, PHP extensions can usually be enabled through the `php.ini` configuration file.
After changing the PHP configuration, restart Apache so that the changes take effect.
If you are using another local development environment, follow its documentation for enabling PHP extensions.
Step 7: Enter Your Database Details
During installation, WebDecky may ask for database connection information.
Enter the database details you created earlier.
A typical local configuration might look like:
**Database Host:** `127.0.0.1`
**Database Port:** `3306`
**Database Name:** `webdecky`
**Database Username:** `root`
**Database Password:** Your local MySQL password
Remember that these are examples. Your local environment may use different credentials.
If the database connection fails, check every field carefully.
The most common causes of database connection problems are:
- Incorrect database name
- Incorrect username
- Incorrect password
- MySQL service is not running
- Wrong database host
- Wrong database port
Make sure MySQL or MariaDB is running before trying again.
Step 8: Create Your WebDecky Administrator Account
After connecting to the database, the installation process may ask you to create an administrator account.
Enter your preferred administrator information.
This may include:
- Name
- Email address
- Password
Use a strong password even on localhost, especially if your local environment could potentially become accessible to other users on your network.
Your administrator account will be used to access the WebDecky dashboard.
Once installation is completed, you can log in and begin configuring your website.
Step 9: Complete the WebDecky Installation
- After entering all required information, continue with the installation.
- The installer may create the necessary database tables and configure the application.
- Depending on your WebDecky version, the installer may also create or update configuration files.
- Wait until the process finishes successfully.
- Do not close the browser or stop your local server while the installation is running.
- When the installation is complete, you should see a success or completion message.
- You can then visit your local WebDecky website.
Step 10: Log In to the WebDecky Dashboard
Once the installation is complete, open your WebDecky administrator login page.
Log in using the administrator account you created during installation.
The WebDecky dashboard allows you to manage your website and configure the features included in your installation.
Depending on your version and configuration, you may be able to manage areas such as:
- Website settings
- SEO configuration
- Blog content
- Pages
- Users
- Navigation menus
- Tools
- Marketplace features
- Community features
- Advertisements
- Themes and appearance
Take some time to explore the dashboard.
If you are developing or customizing WebDecky, this is also a good opportunity to understand how the different sections of the platform work together.
Step 11: Configure Your Local Website
After logging into the dashboard, configure your basic website settings.
You can set your:
- Website name
- Logo
- Favicon
- Description
- SEO information
- Social media profiles
- Navigation menus
- Theme settings
- Email configuration
Since the website is running locally, you can experiment with different configurations without affecting your production website.
For developers, this is one of the biggest advantages of using localhost.
You can test changes, review the result, and make adjustments before deploying them to your live server.
Step 12: Test WebDecky Features
Once your local WebDecky installation is working, test the main functionality.
Visit your homepage and navigate through different sections.
Depending on your WebDecky installation, test features such as:
- User registration
- User login
- Administrator login
- Blog posts
- Pages
- Search
- Contact forms
- SEO settings
- Image uploads
- File uploads
- Marketplace functionality
- Community or forum features
- Email-related features
Testing locally is particularly useful before deploying updates to a live website.
If something goes wrong, you can troubleshoot it without affecting your visitors or customers.
Step 13: Clear Cache When Necessary
Laravel applications use caching to improve performance.
During development, you may sometimes change configuration or application files and not immediately see the expected result.
In such situations, clearing the Laravel cache can help.
If Composer and Laravel's command-line tools are available in your local environment, you can use the appropriate Artisan commands to clear application caches.
For example, a common Laravel development command is:
`php artisan optimize: clear.`
Run Artisan commands from the root directory of your WebDecky installation.
For example:
`cd htdocs/webdecky`
Then run the required command.
The exact commands available depend on your WebDecky and Laravel version.
Step 14: Customize WebDecky on Localhost
One of the biggest advantages of installing WebDecky locally is the ability to customize the platform.
Developers can work on:
- Blade templates
- CSS
- JavaScript
- Laravel controllers
- Models
- Routes
- Database migrations
- Application services
- Custom modules
You can make changes locally, test them, and review the results in your browser.
If you are developing a new feature, localhost gives you an environment where you can experiment safely.
For example, you might want to create a new page, modify the dashboard, improve the navigation, add a new tool, or customize the website theme.
Once your changes have been tested thoroughly, you can prepare them for deployment to your production server.
Common Problems When Installing WebDecky on Localhost
1. Apache Will Not Start
If Apache does not start, another application may already be using the required port.
For example, another web server may be running on port 80.
Check your local server configuration and identify which application is using the port.
You may need to change the Apache port or stop the conflicting service.
2. MySQL Will Not Start
If MySQL does not start, check whether another MySQL or MariaDB service is already running.
You should also check the MySQL error logs provided by your local server software.
3. Database Connection Failed
Verify your database name, username, password, host, and port.
Also make sure the database service is running.
4. 404 Errors
If the homepage works but internal Laravel routes return 404 errors, check your local web server configuration and URL rewriting.
Laravel applications rely on correct routing and rewrite configuration.
5. 500 Internal Server Error
A 500 error can be caused by several issues, including:
- Unsupported PHP version
- Missing PHP extension
- Incorrect environment configuration
- File permission problems
- Application errors
- Incorrect database settings
Check your Laravel logs and local server error logs to identify the actual problem.
Why Install WebDecky on Localhost?
Installing WebDecky locally is useful for more than just initial setup.
It gives developers and website owners a safe environment for experimentation.
You can test updates before installing them on a production website. You can try new designs without affecting visitors. You can troubleshoot problems privately and develop new functionality at your own pace.
For beginners, localhost is also a great way to learn how WebDecky works.
You can explore the administration dashboard, understand the available features, and learn how a Laravel-based application is structured.
For professional developers, localhost provides a convenient environment for development and testing before deploying changes to a live server.
Final Thoughts
Installing WebDecky on localhost is a practical way to learn, test, customize, and develop your website before launching it publicly. The process starts with setting up a local PHP environment, installing the required PHP version and extensions, creating a database, placing the WebDecky files in your local web directory, and opening the installation URL in your browser.
Once WebDecky is installed, you can log into the administrator dashboard and begin configuring your website. Because WebDecky is a Laravel-based platform, it provides a structured foundation for developers while remaining easy to use for website owners. Its fast and flexible architecture makes it suitable for projects that require multiple features and functions in one platform.
Whether you are a developer building a new project, a website owner testing a new configuration, or someone who simply wants to learn how WebDecky works, installing it on localhost is an excellent place to start.
The best approach is to develop and test your changes locally first. Once everything works as expected, you can move the finished project to a compatible hosting environment and make your WebDecky website available to the public.
With a properly configured localhost environment, you can safely explore WebDecky, experiment with its features, customize the platform, and prepare your website for a successful production launch.

Comments (0)
No comments yet. Be the first to comment!
Leave a Comment